Showing posts with label green. Show all posts

Monday, November 25, 2013

Week Fifty: Christmas Card Pegs

It seems that Christmas is thoroughly here, you only have to go into the madness that is shopping centres at this time of year to know. As I only have three weeks of my quilling challenge to go, it's good to get a few quilled items in.


This was supposed to be next week's project, but I must do a bit more planning for what I was intending this week. Instead we've got an incredibly easy, simple and cute idea to help display your Christmas cards:


Christmas card pegs are such a nice way to display cards without them clogging up space on your sideboards or bookshelves. I've always thought they were adorable and nifty, and when I saw a pack of tiny wooden ones I realised how easy it would be to make little sets of quilled card pegs!


I have nine designs here, twenty pegs in all, but others that could be added would be tiny snowflakes, reindeer, candy canes, santa's face, elves, Christmas lights, letters to make them spell out 'Merry Christmas' or some other holiday message, etc. I could go on all day with ideas for these, they're just so quick and easy and cute. They were each topped off with Crystalina glitter glue and given a quick spray with Crystal Clear Acrylic.


I love the little angels...


...and the mistletoe is pretty cute....


and this shooting star is quite dazzling too. As I do with my usual snowflakes I added some glitter glue here and there to add that extra Christmas magic.


Super adorable right? Yes. Here's proof that despite their tiny size they can hold up a card, though these are all blanks as I don't have any Christmas cards immediately on hand just yet. If they were larger than the average size there's a chance you'd need two, but they held these up without any sign of difficulty.


Next week I'll hopefully have worked out what would have been on this week, but if not I'll push it to my final week of the quilling challenge! I've got so many other projects to work on after these three though that it'll probably seem like I've barely stopped at all.

If there's anything I've learned from doing this year long challenge apart from new quilling techniques and an overall improved ability, it's that this is a really good way to establish a blog, a following and help you decide if your craft of choice is for you. And quilling is for me, I love it, so that's good. Though I now have a massive supply of stuff to go and sell at a market, and no market actually planned yet! Hmm.


xnata.

Wednesday, November 20, 2013

Week Forty-Nine: Rose Pattern Card

This week I've taken a different approach to roses than my usual 3D quilled roses.


And it's a pleasant vintagey sort of look. I love it.
 
 
The way I made it I ended up with it all solidly attached without being a part of the card yet. It was very cute as a sort of doily on our table.


These took a lot of paper and time. I used three shades of pink and two shades of green.


It's wonderfully pink, soft and elegant.


Next week I'm going to get started on Christmas fun early to get a few Christmas themed projects into the end of my quilling challenge. Only three projects left!! I've got far more ideas than that though, it won't be the end, I'll just perhaps not be quite as reliable with my posting. Unless asked nicely.

xnata
 

Monday, November 11, 2013

Week Forty-Eight: Poppies

In Australia today is Remembrance Day, 11/11, when we remember all those who have died in battle to protect others.


See you next week,

xnata
 

Wednesday, October 9, 2013

Week Forty-Six: 3D Koala

This week we've got one of my favourite Australian animals, the koala.


He's delightful, wouldn't you say?


This was fun to make and I'm already halfway through another, I want to keep one because they're just so cute.


This project was inspired by a spontaneous meeting I had with a koala a few weeks ago not far from my house. They're a precious animal and we all need to take care of them as they're a threatened species, so please go right now and Google your area's koala rescue service, and put the number in your phone just in case you find a koala in need of help!


I was going to glue his eucalyptus leaves in place, but I like having it so that he can hold it or go without or whatever looks most adorable.


Have I given you enough cuteness yet? Next week I'm going to have to postpone thanks to my uni studies, as my sanity is hanging in there by a threat, but I promise I'll be back with something fantastic.

xnata

Monday, September 30, 2013

Week Forty-Five: Lavender

After this week there are only seven projects until the end of my 52 weeks challenge! I can't believe I it, I hadn't noticed that until today. It's gone so quickly, and I certainly have more than seven projects left on my list of ideas, so don't worry, I'll still be quilling and posting after the challenge is complete, just maybe not as often.

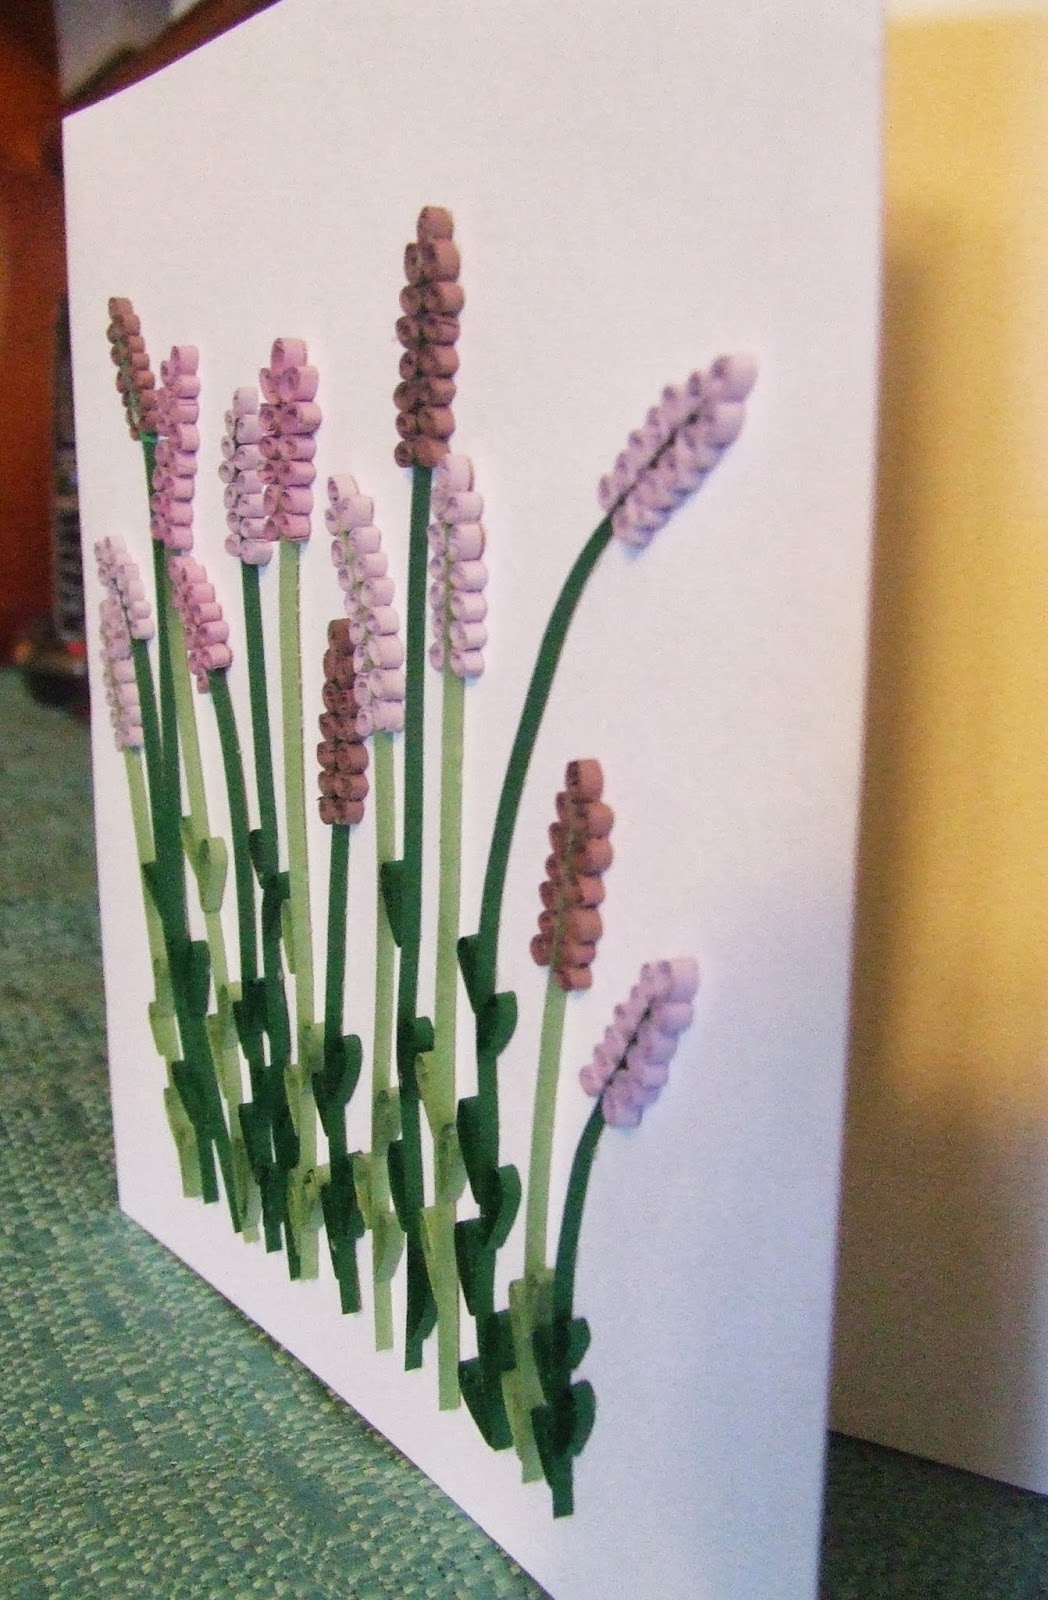
This week we've got some lovely lavender cards.


On the bigger one they're growing wild...


...and on the smaller one we've got a bunch of them on a nice metallic purple background.


These are lovely and simple, yet all those little purple dots end up taking a lot of time! I didn't expect they'd be all that time consuming.


They're very softly feminine. I loved the different shades of purple I used in this card, the purple section of my paper supplier's range is one of my favourites (the blue range is the best though - and I seem to be constantly needing more green!)


Next week we've got another 3D quilling project inspired by a furry friend I made a few weeks ago...

Remember that even if I am nearly done with my year of quilling challenge I am happy to hear any suggestions you have of other quilling project ideas you'd like to see me tackle. I am also happy to do some more 'how to' posts with step by step photos by request, I might do a how to on another 3D project I have planned for around Christmas time.

xnata

Wednesday, September 4, 2013

Week Forty-One: Peacock

I'm a week late again, and this time I'm not going to try and catch up. My university courses are demanding a lot of me right now, like too much, and if I try to catch up I will compromise the quality of what I am making, and that wasn't the point of this year long quilling challenge. I wanted to make good quality stuff that would improve my skills and give you all some pretty things to look at and for my buyers to take home, so the one per week thing is the only part I'm willing to modify. I won't be catching up, I'll just add an extra week to the end date each time this happens, which could happen a few more times as one of my teachers seems to think that I can simply quit sleeping if I'm having trouble keeping up.

Anyway, moving on to the project! I have made a peacock card before, a very long time ago and it was a very simplistic design, so with this one I went detailed and as real as my paper supply would allow, and I just love him. He's gorgeous, elegant and dignified.


Isn't he magnificent? I just love when an idea in my head actually comes out right on the page.


Here's a little look at him as he was being made, you'll see I started with the head and worked my way down.


There's a zoo not far from by house in which there used to be peacocks that would frequently escape, there was a number of times that I had to stop as I drove past to wait for ones like this to cross the road...I haven't seen any out in a couple of years, I assume they have worked out how to stop this for the safety of the birds,  wouldn't want one to get hurt!


The colours are so vivid, it's wonderful that nature creates these colours, and wonderful that my quilling paper managed to mimic them too!


He took a long time to make, time I didn't have, but he has been a wonderful creative outlet and I'm sure will catch people's eyes at the next market.


See you for week Forty-Two, whenever that turns out to be!

xnata.

Tuesday, August 6, 2013

Week Thirty-Eight: Ferris Wheel

Those of you from Brisbane will already know why I've chosen to create a Ferris Wheel this week, but for those reading from afar, this week will see the start of the Brisbane Exhibition, otherwise known as the Ekka.


The quote came first, and the ferris wheel popped into my head as I read it, and I just had to make it right away. It's actually been made for about a month, but I wanted to save it for the Ekka theme, but it's been hard keeping it a secret!


It won't fit behind glass unfortunately, but personally I think that would reduce the impact of the piece. I love this sooo much, both image and sentiment, I think I might keep the original, but I'm sure I'll make more to sell!


I used plain/metallic scrapbooking paper for the structure of the Ferris wheel and the carriages, then silver quilling paper for the actual wheel, and more quilling paper to edge the carriages and the love heart at the centre of the Wheel.


I wanted the quote to be small and in a simple sort of font, so as to not compete for the initial impact of the quilling.


I went for softer, pastel colours in a bit of a rainbow colour scheme, though I think one with shades of red and pink would also work.


Next week we're going to take a walk in the rain...

Have fun!

xnata.

Monday, July 15, 2013

Week Thirty-Five: Butterfly Nursery Mobile

This week I have attempted something a bit different, and I gave a clue a week or two ago on the Facebook page, and I must say I'm quite chuffed with the end product, it is gloriously sweet.


A Rainbow of pretty husked flutterbies for little babies to watch as they fall asleep!


The fantastic thing about these husked butterflies for this purpose is that they are so light and seem to catch the teeniest tiniest breeze, so it's basically constantly moving, which is perfect for the little bubby watching, it's quite mesmerising and so happy and bright.


I've used the classic husking technique as displayed in Week 7, in various sizes and all the basic colours of the rainbow.


The frame is made of the inside ring of embroidery hoops of two sizes, and I've painted them with a pearlescent white paint, then it's all put together with white embroidery thread, nice and thick to hold up the rings but one strand thick for the pretty butterflies. I've sealed the knots with fabric glue to avoid it unravelling, and I've sprayed the butterflies with 'preserve it' to avoid colour fading and make them a little tougher. And it's all held up by a simple silver ring.

I've seen ways to make the structure to attach it to a crib, but as it's so delicate I would suggest hanging it from a hook in the ceiling would be much better, and you can add string to the ring to have it lower down without it ending up within reach of your little munchkin/s as even a baby would crush these within seconds.

Here's a shot of what the little ones will see...

It was hard to pick a photo of this nursery mobile, as the breeze changed it so often that each picture was different in a lovely way. Getting this to hang evenly was the hardest part of this project I must say, it took a few tries and lots of wasted thread, but now I've got the hang of it I am sure I won't have so much trouble in the future.


So, that was lovely wasn't it? Makes you wish there were more real live butterflies around. We should do something about that. Having said that I found one in my kitchen last week, perhaps she saw these others and knew we were butterfly-friendly. Anyway, next week we're going to see something really purple!


xnata

Tuesday, July 9, 2013

Week Thirty-Four: Blowin' Bubbles

This week we are getting into my framed pieces, there will be several of those in the next few weeks (apart from next week, which will be a whole other story) we get a reminder to enjoy the simple things in our lives. It keeps you young.

 *Before we continue, I have announced the winner of the mask or frame competition, the winner's name is up on the Facebook page - the winner chose the frame, so the mask is now available for purchase! I'll be mounting it to a stick, and it will be $18 + postage*


This design is fairly simple in terms of the quilling, bubbles don't take much to look good, but what is great about them is the impact of lots and lots of them! I've got them gradually increasing in size on this one.


I think he looks a little like Christopher Robin, don't you? I think it's that scruffy head of hair.


H. Jackson Brown has some fantastic quotes, I'll be doing others with his wisdom involved, all taken from a book I own that he wrote called 'Life's little instruction book'. It was written for his son, so I think it's quite fitting that we've got a boy involved in this piece.


The bubbles are in all the colours you might see in the surface of a real bubble.


We've got lots more framed pieces coming up in the next couple of months, all to end up for sale along with masks and other items on my madeit page (currently under construction, will put up a link when it's up and going again).


Next week though we're not doing something framed or a mask or a card! It's something very special and beautiful, for which I've left a photo clue on the Facebook page...

xnata