Showing posts with label Teal. Show all posts

Tuesday, August 6, 2013

Week Thirty-Eight: Ferris Wheel

Those of you from Brisbane will already know why I've chosen to create a Ferris Wheel this week, but for those reading from afar, this week will see the start of the Brisbane Exhibition, otherwise known as the Ekka.


The quote came first, and the ferris wheel popped into my head as I read it, and I just had to make it right away. It's actually been made for about a month, but I wanted to save it for the Ekka theme, but it's been hard keeping it a secret!


It won't fit behind glass unfortunately, but personally I think that would reduce the impact of the piece. I love this sooo much, both image and sentiment, I think I might keep the original, but I'm sure I'll make more to sell!


I used plain/metallic scrapbooking paper for the structure of the Ferris wheel and the carriages, then silver quilling paper for the actual wheel, and more quilling paper to edge the carriages and the love heart at the centre of the Wheel.


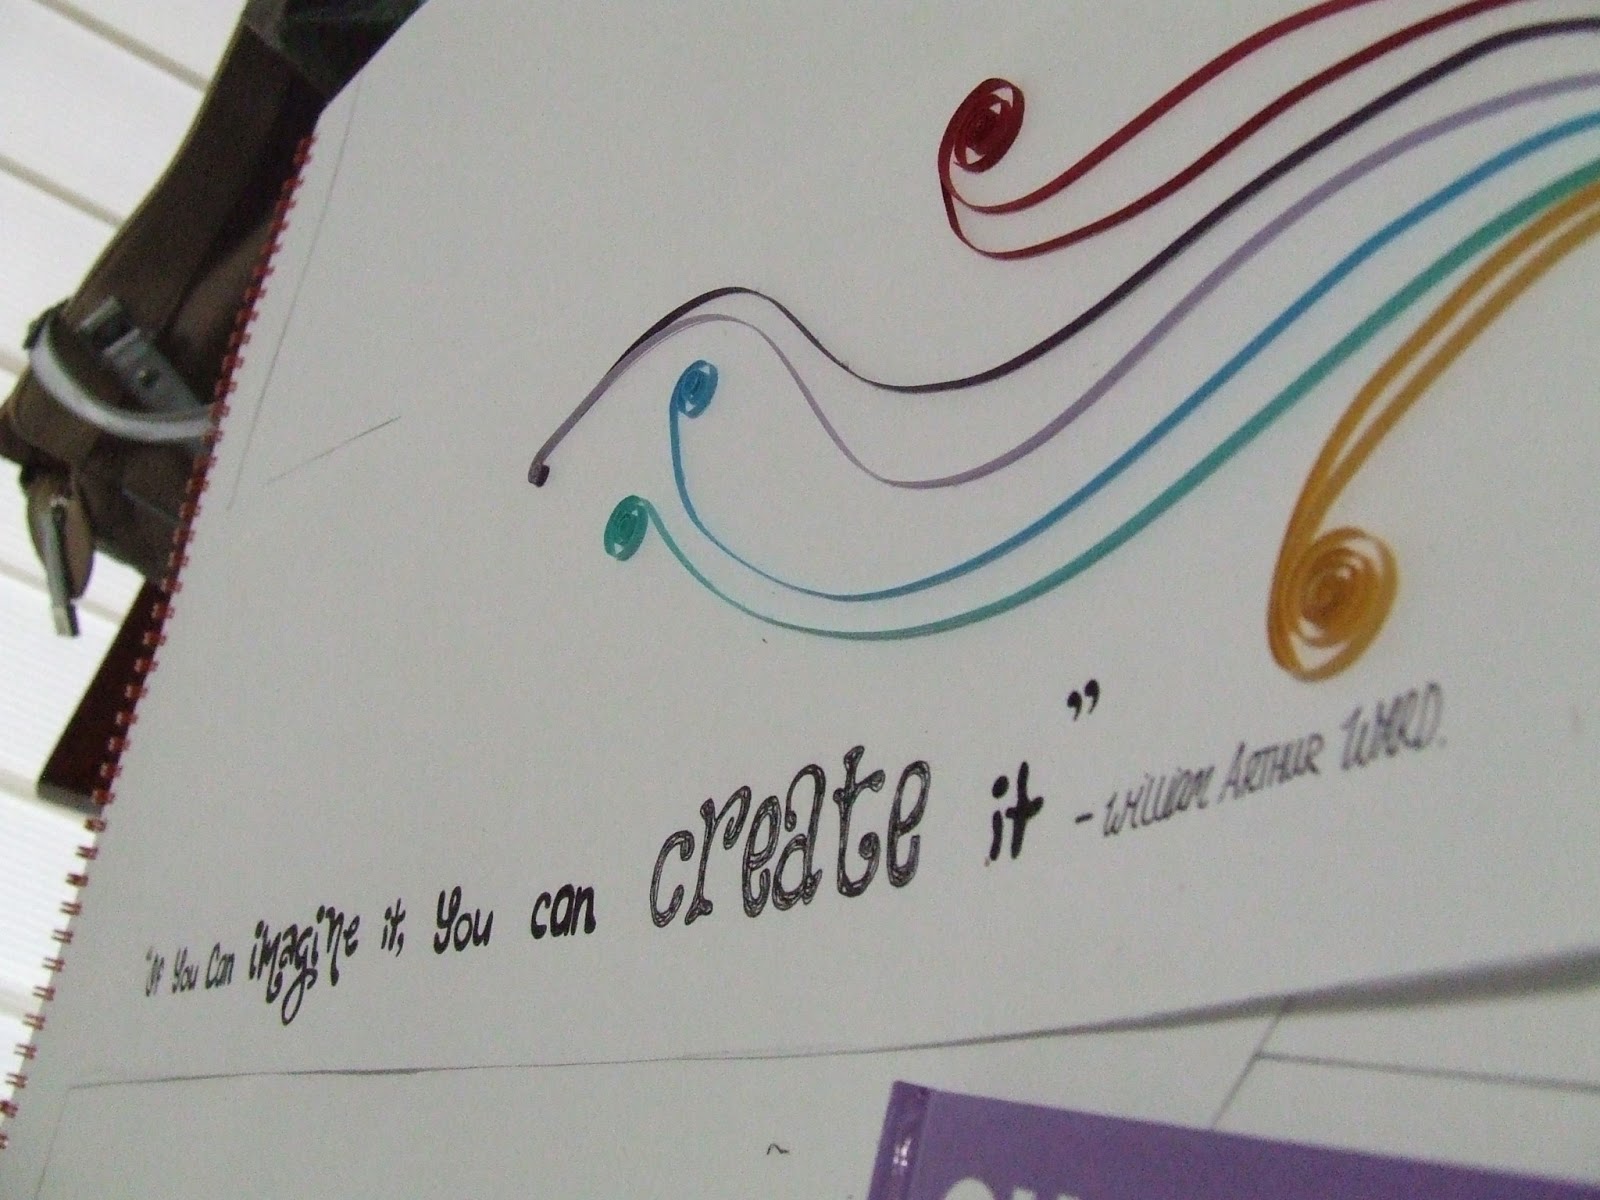
I wanted the quote to be small and in a simple sort of font, so as to not compete for the initial impact of the quilling.


I went for softer, pastel colours in a bit of a rainbow colour scheme, though I think one with shades of red and pink would also work.


Next week we're going to take a walk in the rain...

Have fun!

xnata.

Tuesday, July 9, 2013

Week Thirty-Four: Blowin' Bubbles

This week we are getting into my framed pieces, there will be several of those in the next few weeks (apart from next week, which will be a whole other story) we get a reminder to enjoy the simple things in our lives. It keeps you young.

 *Before we continue, I have announced the winner of the mask or frame competition, the winner's name is up on the Facebook page - the winner chose the frame, so the mask is now available for purchase! I'll be mounting it to a stick, and it will be $18 + postage*


This design is fairly simple in terms of the quilling, bubbles don't take much to look good, but what is great about them is the impact of lots and lots of them! I've got them gradually increasing in size on this one.


I think he looks a little like Christopher Robin, don't you? I think it's that scruffy head of hair.


H. Jackson Brown has some fantastic quotes, I'll be doing others with his wisdom involved, all taken from a book I own that he wrote called 'Life's little instruction book'. It was written for his son, so I think it's quite fitting that we've got a boy involved in this piece.


The bubbles are in all the colours you might see in the surface of a real bubble.


We've got lots more framed pieces coming up in the next couple of months, all to end up for sale along with masks and other items on my madeit page (currently under construction, will put up a link when it's up and going again).


Next week though we're not doing something framed or a mask or a card! It's something very special and beautiful, for which I've left a photo clue on the Facebook page...

xnata

Tuesday, June 4, 2013

Week Twenty-Nine: Imagine...Create!

 I've done something a bit different this week, it's a framed piece that involves an inspiring quote...


The quote is one I've seen many times, though from what I understand it's actually paraphrasing what William Arthur Ward said, because he was quoted saying 'achieve' rather than 'create'. I particularly wanted it to say create, so I've gone with the paraphrased version, but I've still listed his name as the credit for the quote.


The silhouette is drawn by me, as are the words, so it's a bit of a mixed media piece. I decided to give her flowing curly hair and a bit of a wintery outfit as I didn't like her to look scantily clad and I wanted a sense of movement in her and the hair and stance got that working. I threw in the not coloured in headphones on a whim and I really like it.


The idea is that she's walking along and just trailing this amazingly colourful creation behind her, letting it out of her hand. I liked that because it's like she imagined it, planned it, and then let it out into the world on this confident stroll while she listened to music.


Here are some shots of it as it was being created...


I've already got ideas for a few others like this, one involving a little girl, the other involving a dancer...I'll see what people think of this one first, but I'm pretty sure I'll make the other ones whether this one catches people's eyes or not. It's my art and I imagine it I can create it ;)


I really like the idea of this being bought by a crafty person or artist who finds it inspirational. There's nothing I love more about quilling than the thought of it inspiring someone else to make more beautiful things. That's why I loved my quilling teaching gig, and I think one of my students was keen enough that she'll have taken it up as her new hobby, which is amazingly excellent and just what I was hoping to achieve.


I think it looks better when it isn't behind glass, but I wouldn't want to have it gathering dust for its owner (whoever that may be) so I thought it needed glass to protect it and keep it easy to dust.

So there you have it, and I might make more like this but different designs in a couple of weeks. I've got less than two weeks of the uni semester to go, so I'll knuckle down through that and then get into this theme again.

Next week we're going for a 3D project again!

nata
 

Thursday, February 21, 2013

Week Fifteen: Goddess

Years ago, when I had only been quilling for a few months I made a card with a girls face in profile. I did it on a black card, and she just had simple curly hair that was rainbow coloured using two tone quilling paper (side note, two tone quilling paper is hard to find these days!). I thought I'd reprise this sort of design but update it with my new skills and add in a bit of a theme.


For some reason, we'll call it inspiration, I decided she should be entirely made of shades of purple and teal, and the whole 'Goddess' idea just came to me as I went. I put all sorts of fun shapes through her hair; my favourite is the feather.


I love her little grin and her cute nose - it reminds me of Samantha from Bewitched. I imagine this goddess could twitch her nose and make a cool breeze blow or the moon shine brighter.


..maybe she's my muse...


As we're headed for Autumn, next week's project is going to celebrate that!

xnata

Thursday, August 30, 2012

Beach Christmas - Paper Ornaments

*If you have been directed here from my Facebook link blunder, click here to see the Christmas Wreath.

Yesterday I took the afternoon off from university to spend some time crafting, and I'm really happy with some of what came out of the day.

We'll start with my favourite:

keeping with my colour scheme, we've got the aqua/teal colour in the pinwheel at the back, with some flowers made of napkins (sticking to my attempt to avoid buying very much for these ornaments!), and a quilled circle centre. You can't really see the glitter but the pinwheel is edged with glitter glue and then the quilled centre is coated in glitter also.

A paper ornament honouring the land of the language I love so much, we have a Paris doily ornament, hung with ribbon.

Now this skinny number is made with a tassle I removed from another purchase that it just didn't suit (in my opinion). I made some little quilled beads, and added a little doily (current squished up against the cabinet there, but it won't sit like that on the tree), and a ribbon up top. I change between loving this and thinking it's bin-worthy. We'll see what happens.

I've already got about four other quilled snowflakes that I made a long time ago, but now I've got these two as well:


Loving the stripey peach paper I used for the first one. So bright and fresh.

I haven't made the rest of my burlap/hessian and lace placemats yet, but there'll be time for that in the near future, I'm sure, and I'll post photos of them when I have.


Have a lovely day,

xnata

Friday, August 10, 2012

Christmas 2012: Baby-Proof Beach Theme!

I am the Mummy of a clever, mischievous toddler. And a small house.

For a moment, I considered skipping decorating for Christmas at all, but that was too sad. He deserves a magical Christmas every year of his life.

Plus, this year one side of our family will be having the Christmas gathering here, so we really couldn't skip decorations or a tree. So I have started planning...

First, how do we avoid the whole tree getting knocked over or falling on top of baby? Well, we don't have room for my prefered method of putting a play pen around it, so I'm using my own unique method. There is this weird banister thingy in our house, and the tree will be tethered to this. Problem one solved.

Next, I would be sad (not to mention panicked, stressed and possibly bleeding or being bled on!) if any of my glass ornaments broke. It's just a hazard I'm not willing to risk. So, how can I do christmas without my ornaments, and without spending lots of money on new ones?

As I was stewing on this, inspiration came from a random place - my new tablecloth.


I'd bought a matching table runner for the table on the patio, and some other knick-knacks to match. I loved the colour scheme so much I decided this would be the colours of alterna-Christmas.

Looking at those colours made me think of the beach. Theme found! That way, the majority of decorations are made from free things like shells and driftwood. That certainly fits my budget!

Note how this tiny collection that I already had includes pieces that look like angel wings? It's all coming together...

But, I don't want sand in or near my house. No thank you, so how could I incorporate the colour of sand without it? Hessian/Burlap!


Before I knew it, I'd come up with these hessian/burlap and lace placemats. Aren't they simple yet puuurrrdy?! And the best part - so easy to make, and they work out to cost about $1.20 each, if that :) so making 20 is no big deal!

I'm attempting to make it so that no two placemats are decorated the same.

I'll be using the hessian/burlap and lace and other ribbons and such within my colour scheme to make ornaments for the tree (though some lace will simply be tyed to the tree in bows), all of which I will share with you as I make them. There'll be quilled ornaments again too! I also have plans for lots of paper pom-poms, a paper lantern or two, our usual fairy lights, and a lighthouse :) I've pinned a million pinterest things too, and hopefully I'll find time to do a couple of those ideas too. Still trying to dream up a way to have old fashioned beach huts somewhere in the theme (not life-sized of course!).


Lovely candle holders and pretty smelling tealights will also be on the tables.

I am looking forward to doing some beach combing for shells and driftwood, but I feel weird about using real starfish, because it makes me sad to think people might collect and kill living starfish and seahorses just so I can decorate my table : / so I'm seeking a way to make them instead. Where there's a will there's a way!

I'm only about half way through my placemats, but I'm so glad I thought of it and could do it now, 'cause I really wouldn't have time in December!

Stay tuned for more Beach Christmas decoration prettiness :)


xnata.